Conducting Experiments - Advance User Guide
This user guide goes through the main steps to conduct thorough experiments with Concertio(Synopsys) Conductor and Optimizer-Studio.
It goes through some advance features that are not covered in the tutorials and getting started guides.
But first, one has to complete the following preliminary trivial steps:
- login to Conductor (optimizer.concertio.com)
- create a project
- connect Optimizer-Studio
Before doing just that, quick reminder introduction words about Conductor:
Conductor - Experiment Management System Intro
Conductor is an experiment management system with advanced web user interface that allows watching experiment progress and results in a web browser, as well as other analysis operations.
In order to use Conductor, you need to sign up at Concertio's portal https://optimizer.concertio.com.
After signing up, sign in and create a project either through the Conductor web interface or using optimizer-ctl create_project command (see below).
Connecting Optimizer Studio to Conductor
Follow the instructions on optimizer.concertio.com for how to connect Optimizer-Studio a Conductor project.
Use optimizer-ctl login and then optimizer-ctl create_project if you wish to manage the entire process from the command line interface.
Once you are logged in and project is connected with your knobs.yaml definition file, Optimizer Studio connects to Conductor system at startup and starts streaming the experiment samples.
Pay attention to the diagnostics output in Optimizer Studio Console, which shows the connection progress and parameters.
Alternatively to connecting the project via knobs.yaml definition, the <project_guid> that is injected during the connection process, can be defined as an environment variable instead:
export OPTIMIZER_STUDIO_PROJECT_GUID=<project_guid>
If the GUID (Globally Unique Identifier) is defined both in knobs.yaml and the environment variable, the environment variable value is used.
This alternative is useful for Automation, such as continuous integration and delivery.
Advanced Usage Examples
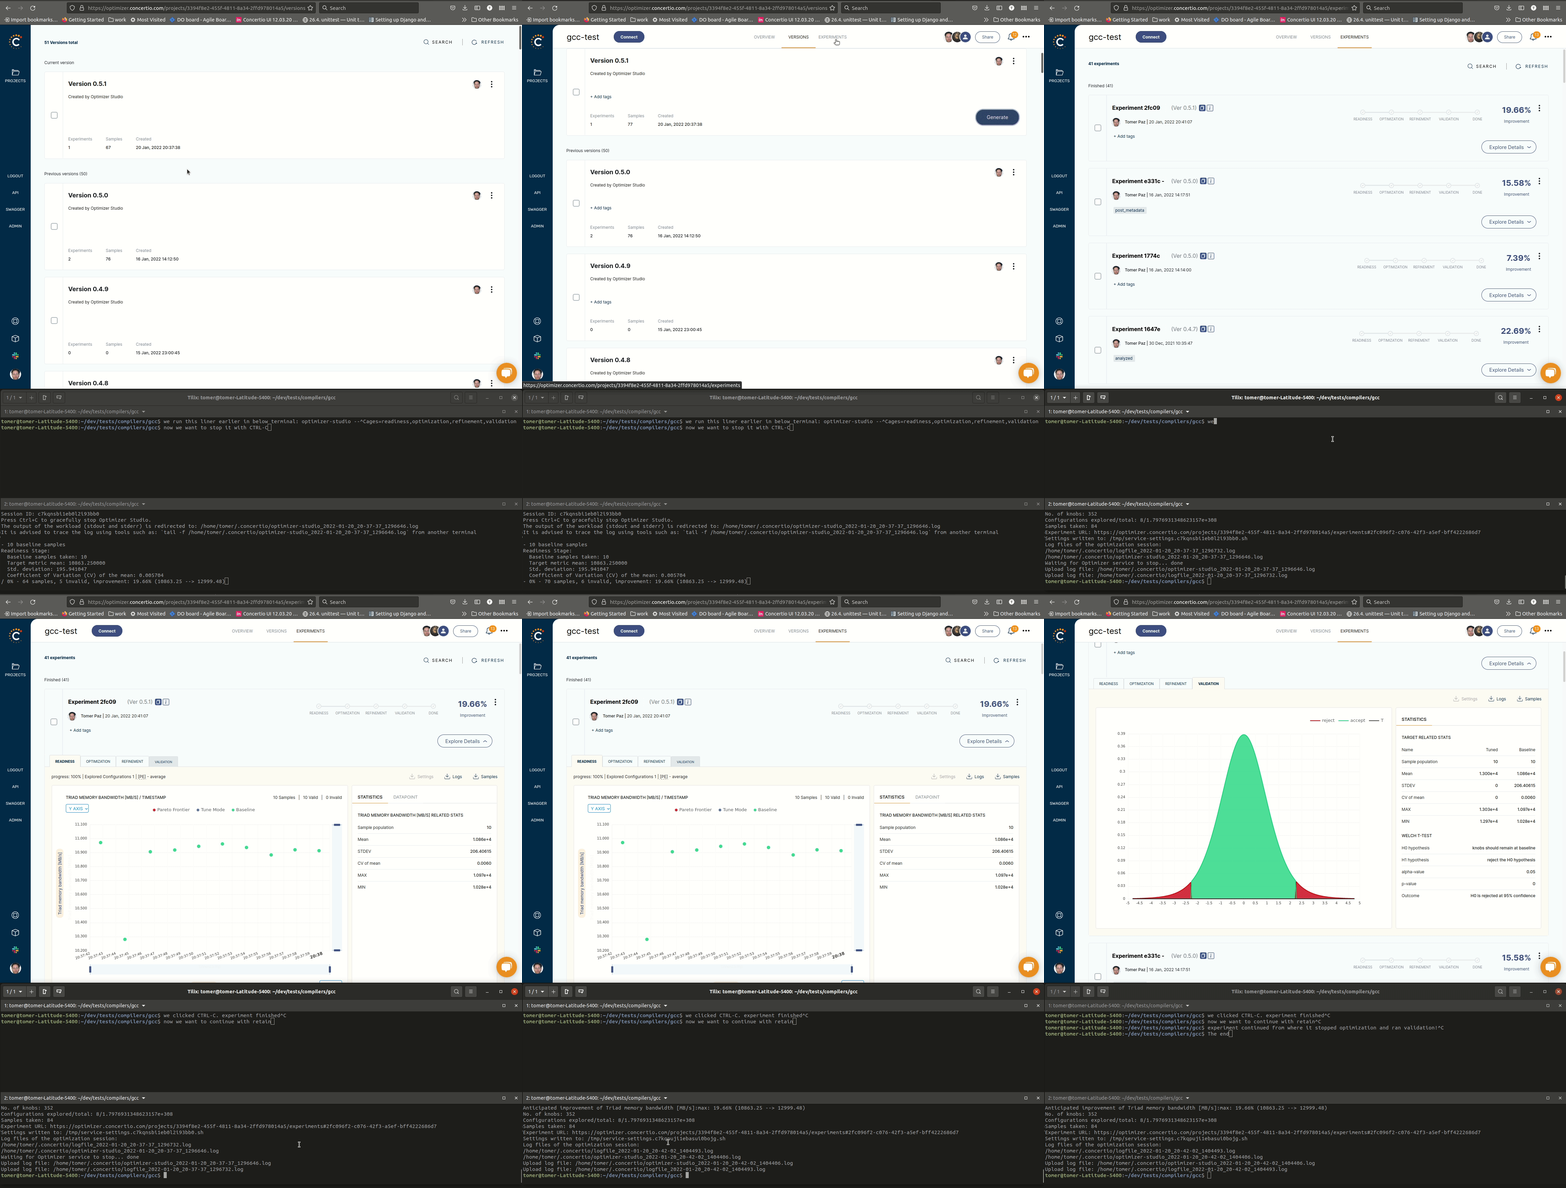
Stopping an experiment and continue with Retain
Sometimes you look at a running experiment and notice many samples are streamed from Optimizer-Studio, but the improvement seesed to increase for a while.
You might consider stopping the Optimization stage, and jump over to the next stages such as Refinement and Validation.
This is possible by stopping Optimizer-Studio from the terminal session via CTRL-C (NOTE: press CTRL-C once and only once!! otherwise Optimizer-Studio will force-quit and might lose information).
Then, you can run Optimizer-studio again, only this time with the --retain argument, in addition to a specific list of stages, similar to the demosntration of Analyzing Knobs thereafter.
Here is a short demonstration how it works (click the GIFs to watch the video):
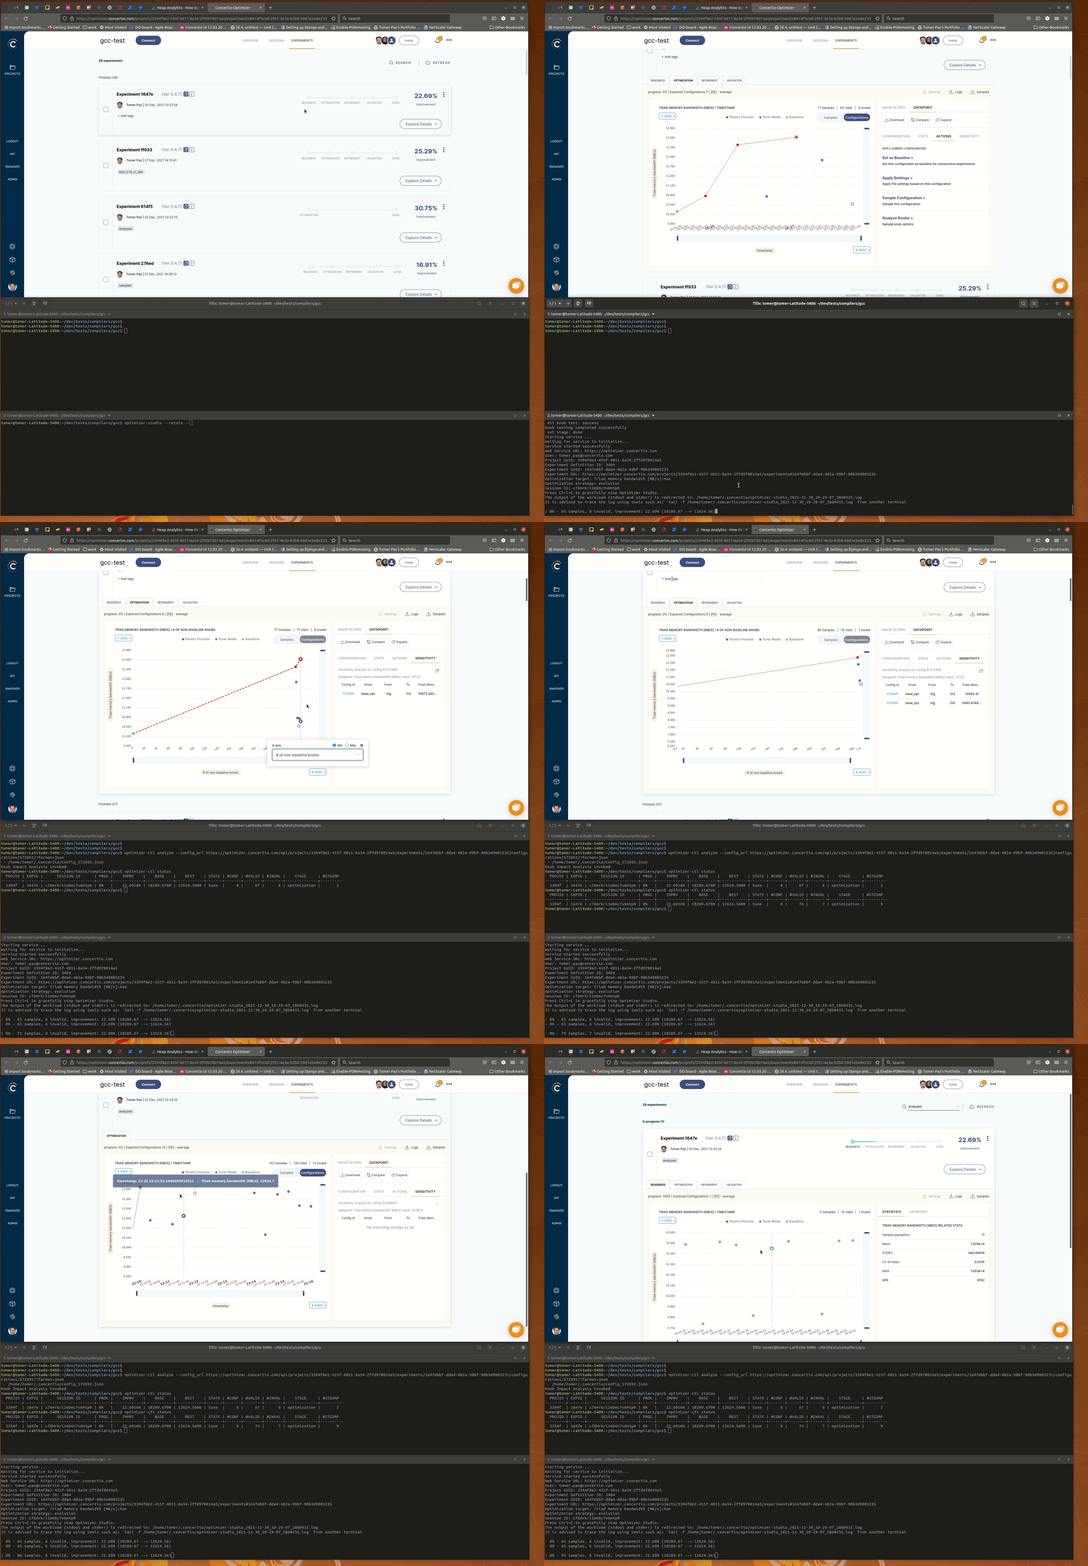
Sensitivity Analysis
Analysis page covers the capabilites using optimizer-ctl and optimizer-studio commands to run all sorts of configuration sensitivity analysis experiments, on top of existing experiment.
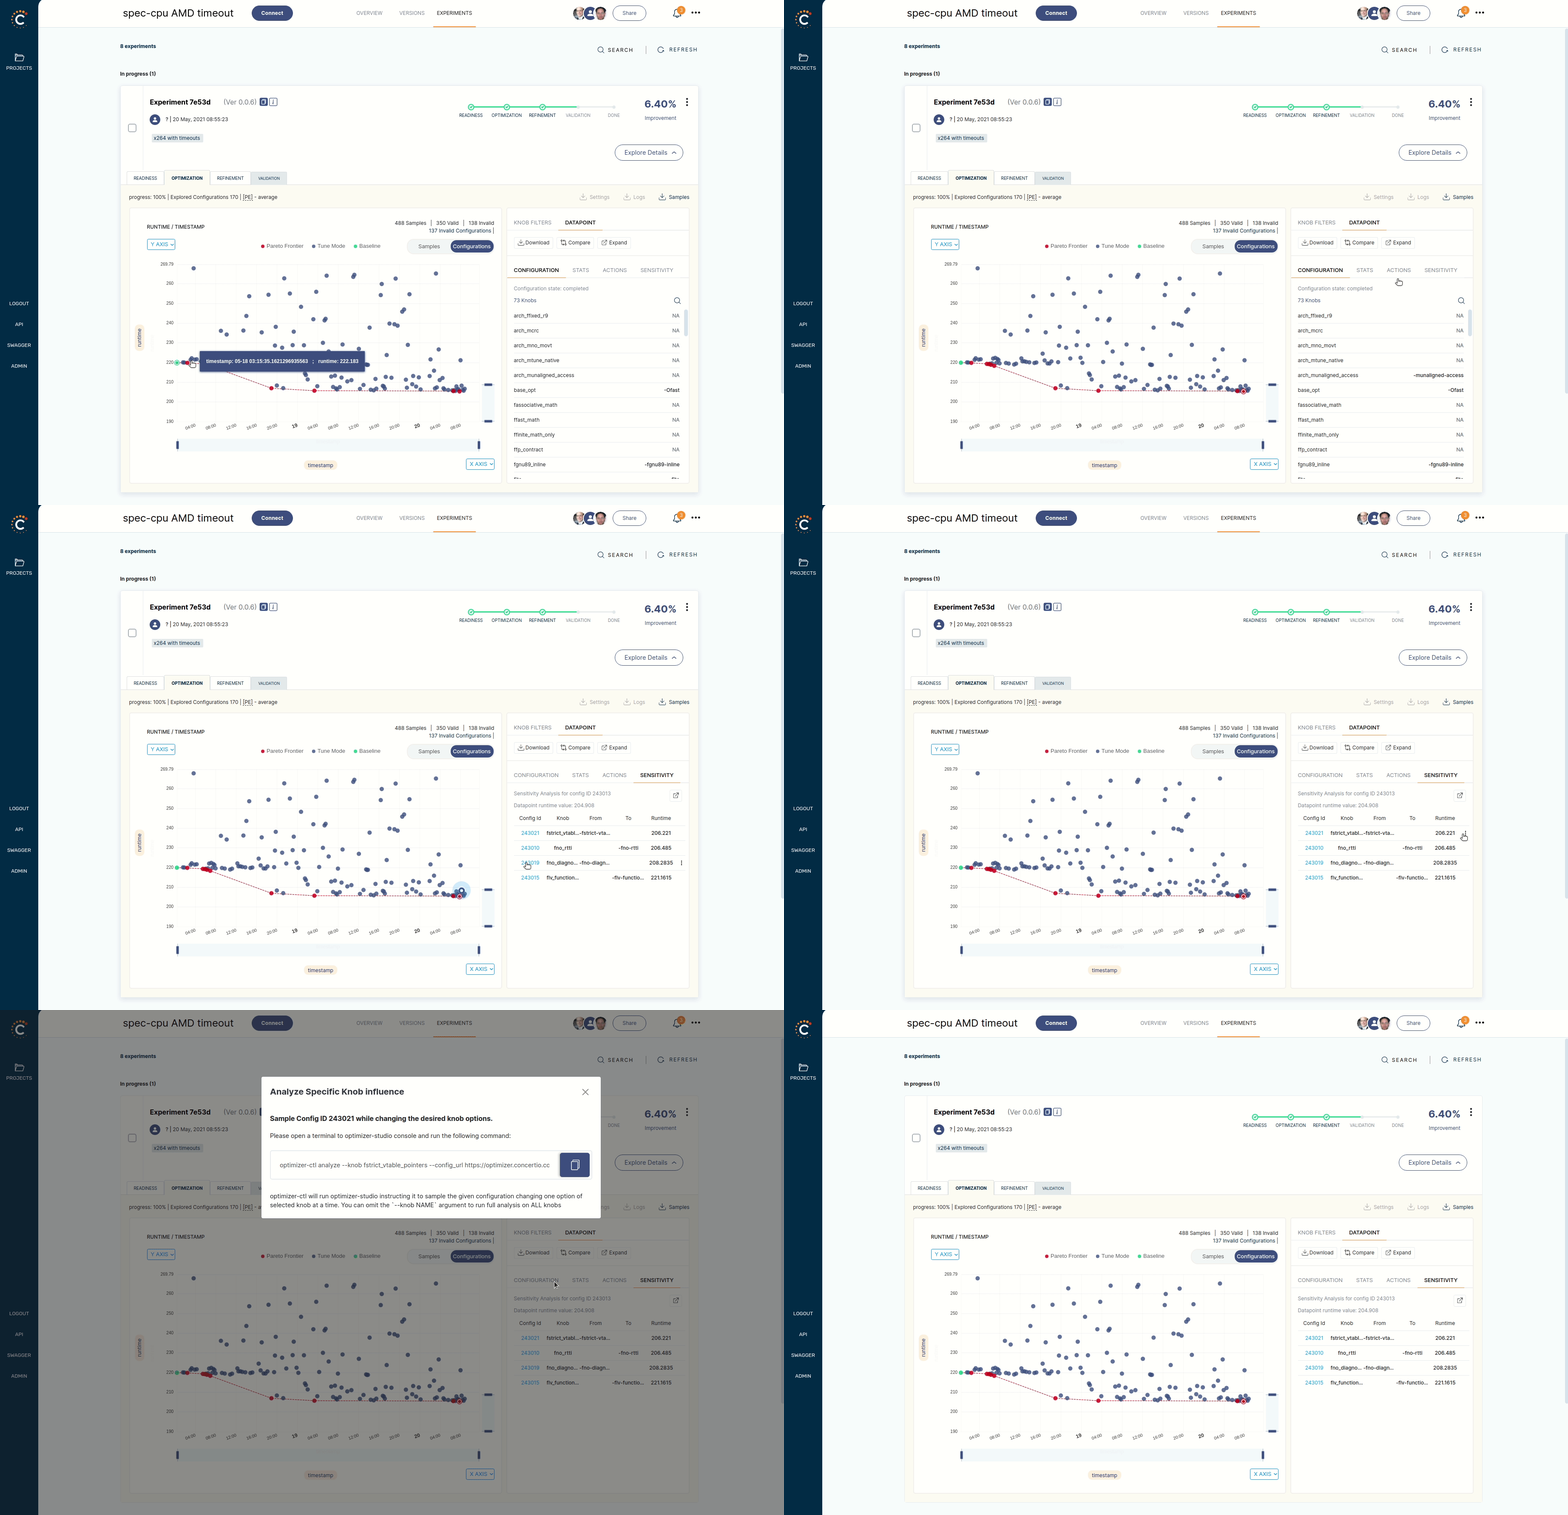
Conductor allows to pin point a specific data point, show sensitivity analysis table about the selected configuration, compare that configuration to the 'close distance' similar configurations, and then generate an optimizer-ctl command to instruct Optimizer-Studio to run additional analysis samplings.
The output of the analysis commands will stream to the same experiment, and will be added to the Optimization graph as the data arrives, much like it does in optimization stage.
The following recorded animations demonstrate how Sensitivity Analysis is performed from Conductor.
- Analyze all knobs from Actions tab
- Hovering configurations in Sensitivity Analysis Table to select a different data point or Analyze specific Knob
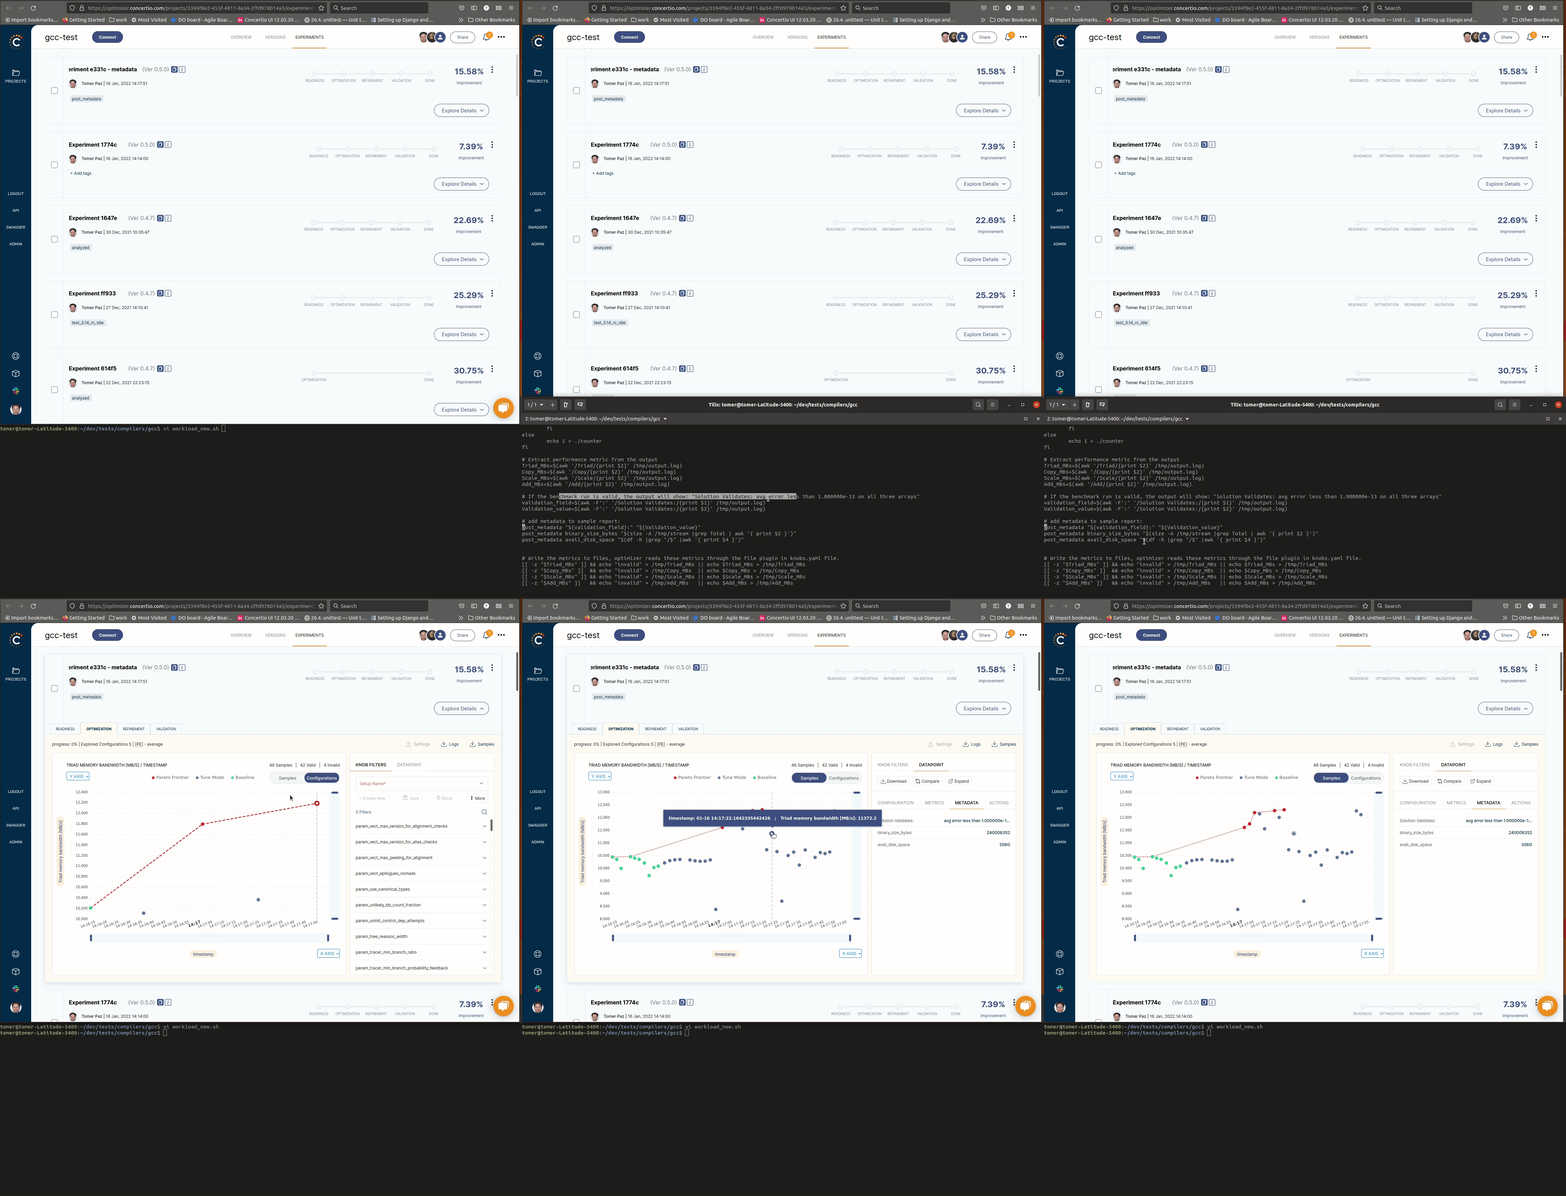
Posting Meta data with Samples
It is sometimes desired to include more meta-data with each workload sample taken by Optimizer-Studio, to be stored and referenced later. Some use cases might be - trouble-shooting specific sample to understand root cause of a result, auditing purpose and relation to external systems. For example, attaching the path of the log file of the benchmark executed as the workload. Another example, attaching Environment details to capture system state during workload execution.
Here is a short demonstration how to add meta-data to your workload script and access it later from samples view in Conductor:


